
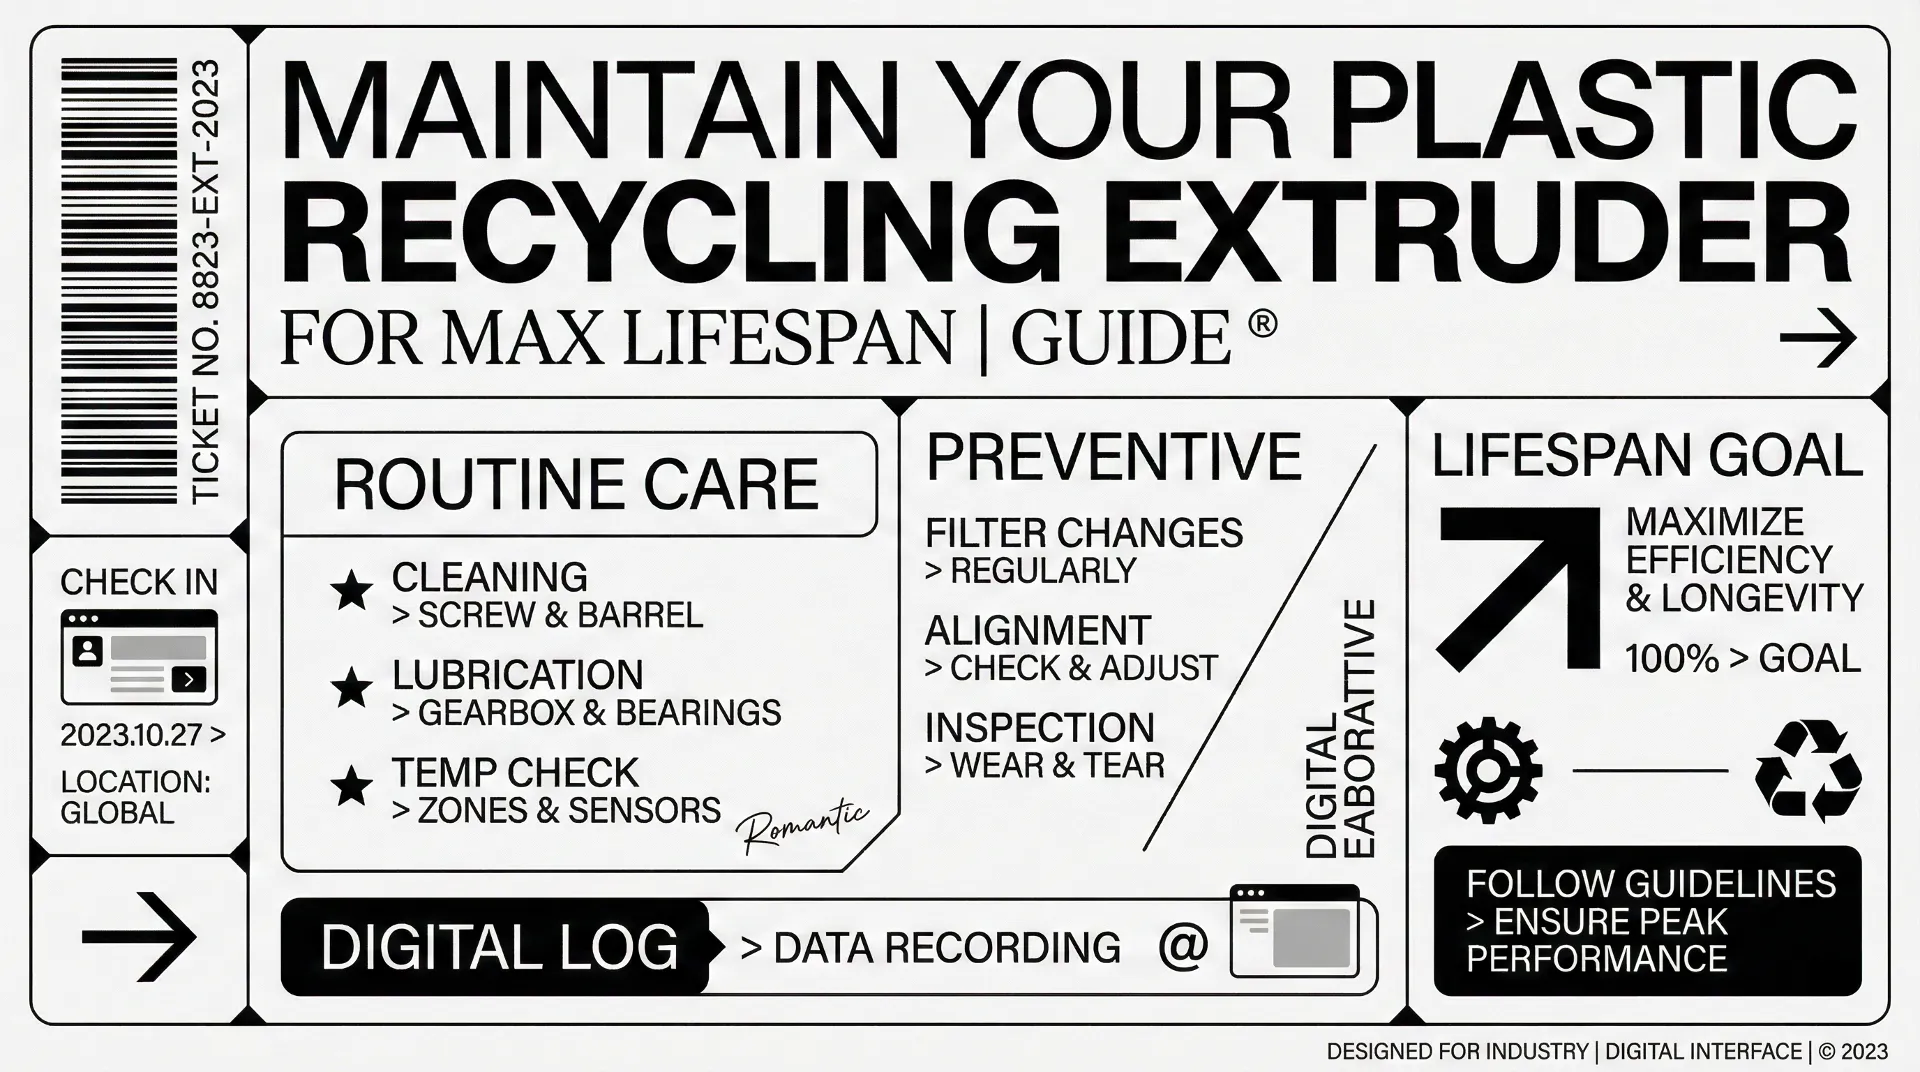
Extruder maintenance directly impacts pellet quality, production uptime, and equipment lifespan. Plant managers running plastic recycling lines know that a poorly maintained extruder causes inconsistent output, unexpected shutdowns, and costly repairs. This guide covers the three most critical maintenance tasks: screw cleaning, proper preheating, and blockage prevention.
How to Clean Your Extruder Screw Without Damage
The screw accumulates carbonized plastic, degraded resin, and contaminants during normal operation. Regular cleaning prevents cross-contamination during material changes and maintains consistent melt quality.[1]
Step-by-Step Screw Cleaning Procedure
Start by closing the feed throat to stop material flow. Reduce screw speed to 15-25 rpm and maintain this speed until melt stops flowing from the die. Set all barrel heating zones to 200°C, then begin cleaning immediately once temperature is reached.[2]
Push the screw forward using your extruder's screw extraction mechanism until four or five flights are exposed. Use a brass putty knife and brass wire brush to remove purge resin from the screw channels. Never use steel tools or acetylene torches, as these damage the heat-treated screw surface and reduce its hardness.[3]
After removing large resin deposits, sprinkle stearic acid onto the hot screw root and use brass gauze to remove remaining residue. Continue exposing additional flights and repeat the process until the entire screw is clean.
Barrel Cleaning Method
Set barrel temperature to 200°C before cleaning. Attach a round steel brush wrapped in copper wire mesh to a drill. Sprinkle stearic acid inside the barrel or on the copper mesh before insertion.
Start the drill and move the cleaning tool forward and backward until movement becomes resistance-free. Remove the copper mesh and wipe the barrel interior with cotton cloth bundles to eliminate cleaning compound residue. Several passes ensure complete cleaning.[1]
Proper Preheating Procedures for Extruder Startup
Correct preheating protects your extruder from thermal shock and prevents screw breakage. Cold starts put extreme stress on drive components and heating elements.
Begin by setting barrel zones to the processing temperature for your material. Allow 45-60 minutes for full heat soak, depending on barrel diameter. Larger extruders require longer preheating times to ensure uniform temperature distribution through the barrel wall thickness.
Check that all thermocouples read within 5°C of setpoint before starting screw rotation. Start the screw at minimum speed (5-10 rpm) with the feed throat closed. Run for 5-10 minutes to distribute heat evenly and allow the screw to expand uniformly.
Gradually increase screw speed in 25% increments every 5 minutes while monitoring drive amperage. Open the feed throat only after the screw reaches normal operating speed and barrel temperatures stabilize. This staged approach prevents material from entering before the system reaches optimal processing conditions.[4]
Preventing Extruder Blockages and Clogs
Blockages cause production losses and potential equipment damage. Most clogs result from contamination, improper material drying, or incorrect temperature profiles.
Material Preparation and Feeding
Use high-quality feedstock free from metal contaminants, oversized particles, and moisture. Install metal detectors on feed conveyors to prevent tramp metal from damaging the screw and barrel.[5] Pre-dry hygroscopic materials like PET, PA, and PLA to below 0.02% moisture content. Wet material creates steam in the barrel, leading to pressure surges and blockages.
Maintain consistent feed rates using gravimetric or volumetric feeders. Inconsistent feeding creates unmelted plugs that obstruct material flow. Clean feed throat cooling channels regularly to prevent material from softening and bridging in the hopper throat.
Temperature Control and Monitoring
Set barrel temperatures according to material supplier recommendations. Temperatures too low create unmelted material that blocks the die. Temperatures too high cause degradation and carbon buildup that restricts flow.
Monitor melt pressure at the die. Gradual pressure increases indicate screen pack loading or die restriction. Sudden pressure spikes signal a blockage forming. Install automatic screen changers to swap filter screens without stopping production.[6]
Screen and Die Maintenance
Inspect breaker plates and screen packs at every material change. Replace screens showing tears or holes immediately. Clean die lips weekly to remove carbon deposits that narrow the opening and increase back pressure.[7]
Never force restart an extruder after emergency shutdown. Material left in the barrel solidifies and jams the screw. Always clean the chamber completely before attempting restart.
Daily Maintenance Checklist
Establish a daily routine to catch problems before they cause downtime:[8]
Check drive amperage against baseline values. Increases indicate wear or restriction. Inspect feed throat cooling water flow and temperature. Listen for unusual bearing noise or vibration. Verify all barrel zone temperatures match setpoints. Clean barrel heater cooling fins to prevent overheating. Check gearbox oil level and temperature. Tighten any loose mounting bolts.
Record all observations in your maintenance log. Trends reveal developing problems that you can address during scheduled downtime rather than emergency repairs.
When to Schedule Professional Service
Replace worn screws when flight outer diameter decreases by 10% from original dimensions. Worn screws reduce output and increase residence time. Inspect screw and barrel annually using specialized measurement tools to track wear progression.[9]
Replace barrel when internal diameter increases beyond specification. Excessive clearance between screw and barrel causes material to slip backward rather than advance, reducing output and increasing energy consumption.
Professional maintenance extends equipment life and maintains production efficiency. Partner with your equipment supplier or a qualified service provider for annual inspections and major repairs. Their expertise ensures your extruder operates at peak performance and delivers consistent quality output.
Effective extruder maintenance balances daily attention with scheduled service intervals. Clean equipment, proper startup procedures, and contamination prevention form the foundation of reliable operation. These practices minimize downtime, reduce operating costs, and maximize your return on investment in plastic recycling equipment.